

[ad_1]
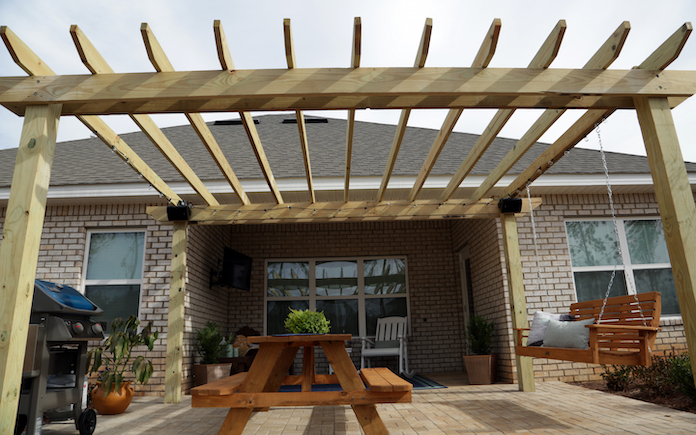
A pergola roof protects you from pop-up storms, so you can lengthen your time outside.
Tyler Schwall in Mobile, Ala., desires to install a tin roof around his pergola. But just before he does this, he wishes to know the very best way to place the roof so it has a pitch for rainwater.
To start with, acquire some strain-treated 2-by-4s to protect each slat on the pergola. Make guaranteed these boards are the very same size as the ones on the pergola.
Then, rip just about every 2-by-4 at a slight angle from its whole width down to absolutely nothing. Ripping a board signifies slicing it along its size. This will make a tapered strip. Make confident the pitch of the roof is at minimum two inches so the rain will thoroughly circulation off of it.
Up coming, use some construction adhesive on the slats and place the ripped boards on top of them. This will insert some additional waterproofing security and retain them secure when you are installing the tin roof.
Immediately after you’ve placed the ripped boards on the pergola, secure them with wooden screws. To continue to keep the tin roof from sagging, lay some 2-by-4s perpendicular to individuals.
When all the boards are safe, put in the tin roof.
Now, you can sit outside the house beneath your lined pergola and take pleasure in the sound of the rain dancing on the tin roof.
Skip to [21:58] for the total phase on the Today’s Homeowner Podcast.
Also in this episode:
Most effective New Item
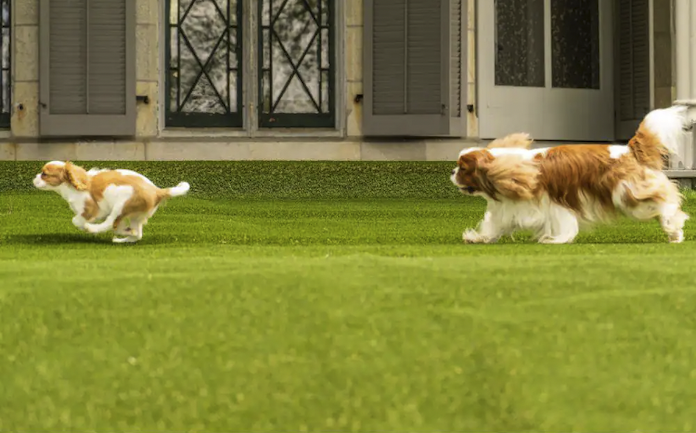 |
Irrespective of whether you want to defend your garden from animals digging or develop a area for them to roam, Lifeproof High quality Pet Turf has you covered. Study more>> |
Straightforward Answers
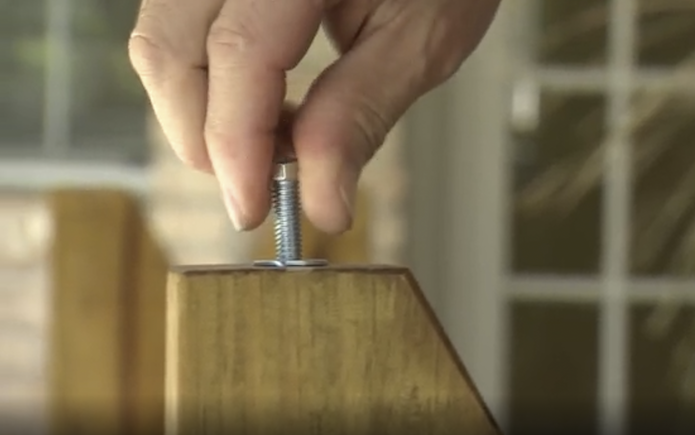
Leveling Wooden Patio Home furnishings — Start out by tedious a 3/8-inch diameter gap into the bottom of just about every desk or bench leg.
Then, use a hammer to tap a T-nut into every single gap.
Thread a hex-head device bolt into just about every T-nut.
The bolts elevate the bench off the patio to avert rot, and they are adjustable to assure the bench is amount.
View: Suggestion for Leveling Wood Patio Household furniture
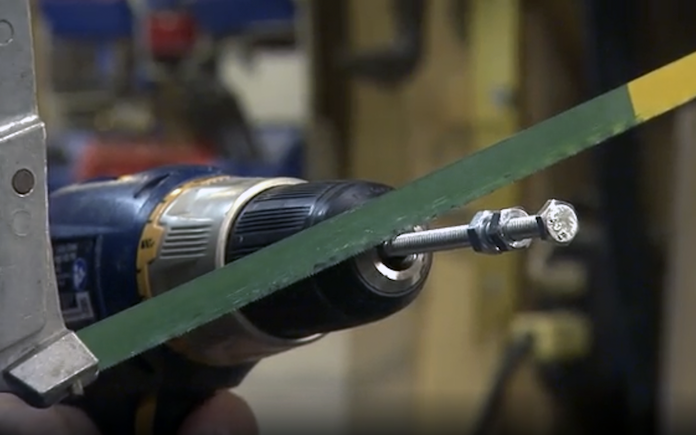
Clear-Reduce Bolts — Here’s how to shorten a machine bolt — threaded rod or carriage bolt — without having messing up the threads.
First, thread two hex nuts on to the bolt, then make the reduce using a hacksaw or jigsaw with a steel-cutting blade.
Then, spin off the nuts, 1 at a time, utilizing a wrench if vital.
When the nuts appear off the conclusion of the bolt, they’ll re-minimize and straighten out any threads that were damaged by the observed, generating it uncomplicated to thread the nut back on.
Watch: Idea for Chopping Bolts to Size
Question of the 7 days
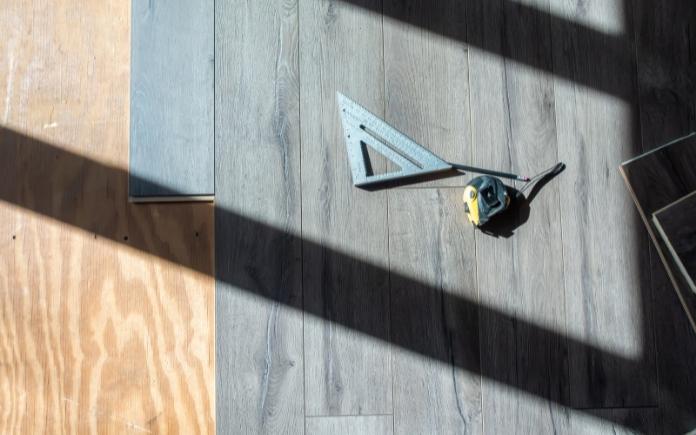
Q: I just purchased my 1st dwelling and I’m about to install some engineered wood flooring.
According to the installation directions, the last row of flooring will have to not be considerably less than 50 percent the width of the planks. (The planks are five inches vast.) But the instructions really do not convey to you how to figure out the width of the very last row.
Can you remember to tell me how to figure that out?
A: When installing flooring, the initial format is heading to define the good results of the project. Really do not start out with a complete-width plank and hope the last row is large adequate.
Initially, evaluate the width of the space and divide by five, the width of the plank. That will give you the quantity of whole-width planks plus any fractions.
If the past row is fewer than 2½ inches, lower the width of the first plank.
Skip to [36:22] for the full segment on the Today’s Property owner Podcast.
Other Products and Backlinks Outlined
More Studying
Ask a Concern! (Podcast)
Talk to a dilemma and we could respond to it on the “Today’s Home-owner Podcast!” We also could use it on our nationally syndicated radio broadcast or on todayshomeowner.com.
[ad_2]
Source hyperlink
More Stories
All About Home Improvement
For Sale By Owner: Points To Consider
NAR(r) Broker Will Swear It – Real Pro’ Agents Share It – FSBO “Truth”