


This article initially appeared on CheckingInWithChelsea.com.
Inspired by at present trending raffia-covered home furniture, I’m showing you how to establish your very own Television console desk lined in wallpaper for $150!
**I partnered with Titebond for this challenge which will make me really enthusiastic because…I employed their initial wood glue and ONLY their wood glue to maintain my whole table collectively! What?!**
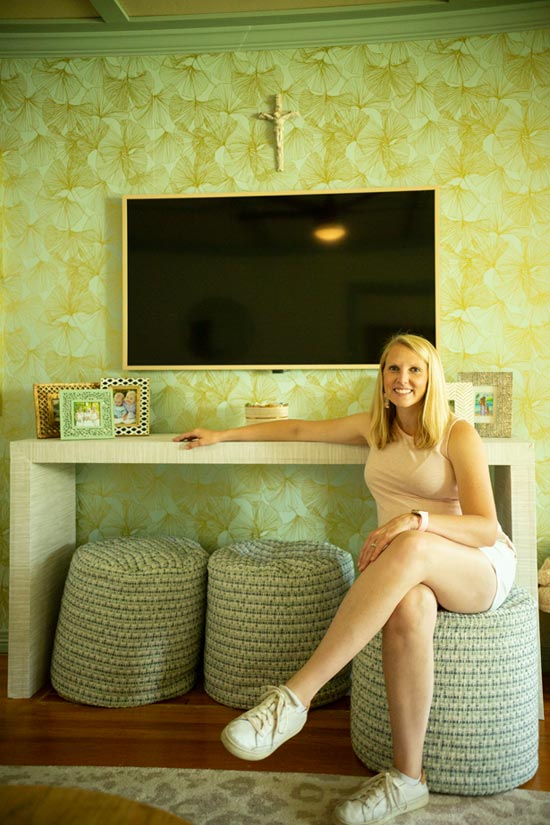
The purpose for my residence was a tall and wide desk with no any seen supports that broke up the cleanse strains. The all round dimensions of my finished table are 70″ broad and 35″ tall. So hold that in intellect with the supplies and slash lists down below!
What to Purchase
What to Cut
1x2s:
- (4) @ 32″
- (7) @ 14-1/2″
- (2) @ 70″
3/4″ plywood:
- (4) 32″ lengthy x 16″ wide
- (2) 70″ long x 16″ vast
Creating the Console Desk Packing containers
Essentially we are producing 3 separate containers. 2 will be the legs and 1 will be the tabletop.
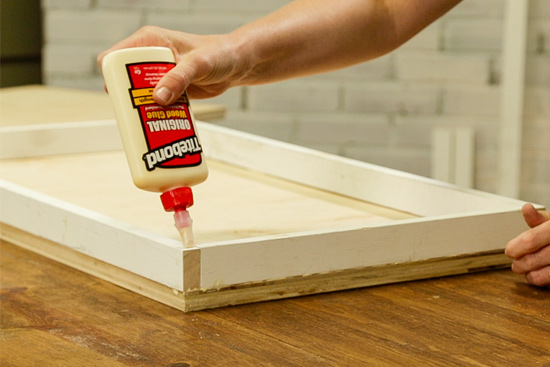
Start with the 2 more compact bins (legs) to get your toes damp. Lay a 32″ piece of plywood down and add your Titebond wood glue together the best side of all 4 edges. Then lay a 1×2 on its aspect on prime of the glue, producing absolutely sure it’s flush with the edge of the plywood.
The 32″ pieces of 1×2 will go from edge to edge of the plywood even though the 14.5″ items ought to in shape snuggly between.
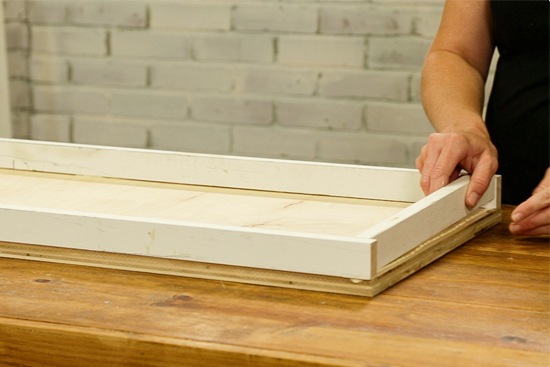
At the time you have the 1x2s lined up on the edges just so, operate a bead of wood glue on the leading of them.
Carefully established a different 32″ piece of plywood on best. Now your box leg is total!
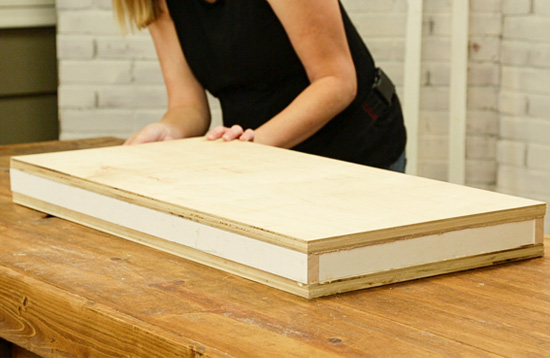
Repeat for the other leg, using a several clamps if important to make tremendous restricted joints!
You are going to abide by the exact techniques to produce the tabletop, only you will add an supplemental 14.5″ 1×2 help someplace in the middle. This will assist keep the lengthy 1x2s from sinking in and add total steadiness to the desk.
Waiting is the Toughest Part
If you have ever tried to pry wooden aside that’s been glued with Titebond, even for a number of minutes, you know it is basically impossible to do nicely.
And that’s why you don’t need any nails or screws to hold your desk together. Wood glue, when completely dried and healed, is actually stronger than fasteners! So nuts but oh so legitimate!
Let your 3 packing containers dry and set up for at least 30 minutes just before moving on to the next move.
Introducing Legs to the Desk Leading
Assuming your flooring is degree, set your leg boxes upright, about 70″ apart. Implement ample quantities of wood glue to the tippy best of your legs and gently set the tabletop in position. Modify the top rated so it is flush with the outside the house of your leg on a person aspect ahead of changing the other leg.
For a desk this huge, it would be practical to have a friend or husband or wife keep the excellent facet in place whilst you manipulate the other side. But with a couple of again-and-forths, you can deal with it oneself as well!
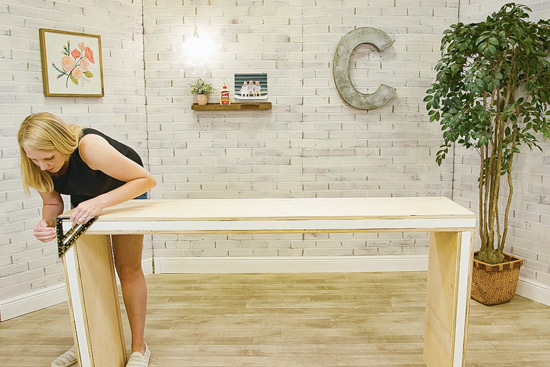
I used a velocity square to make sure the legs have been at 90-degree angles. Not a bad device to have in your arsenal if you really don’t have a person currently!
When you are glad with your leg problem, allow it sit for about 30 minutes ahead of you start off masking anything in wallpaper!
Adhering Wallpaper to the Console Desk
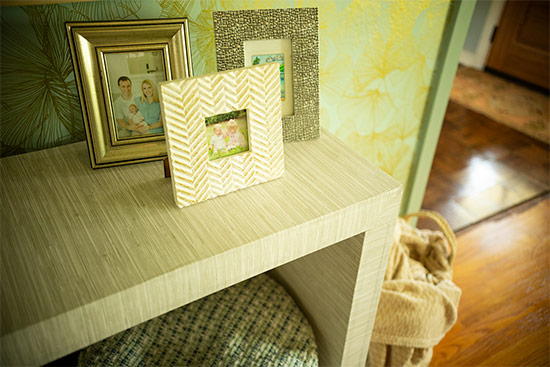
I like the texture of a raffia or gentle-coloured wood table. And immediately after a close friend shared an low-cost peel-and-stick wallpaper she made use of that looked like faux grasscloth, I understood I could use that to build the texture I preferred for this piece of household furniture.
I also desired the desk to glance like one particular slab of wood. To create that effect with the wallpaper, I commenced at the bottom of 1 leg, took it up and around the prime, and then down the other leg with out any cuts or seams. I also lined it up with the back again edge of the desk so it could fold and go down the entrance edge without any seams.
Ideally, the video clip greater illustrates how I dealt with the corners, so look at it above! I experienced the paper that arrived from the tabletop underneath the paper from the legs. Then I scored on the paper by itself the 45-degree angle from the within corner to the exterior corner of the wood construction. I lower any excessive paper from the prime and then caught it down. Future, I lower the layer of paper coming from the legs together the line I just scored. So when every thing was laid flat and caught down fantastic, it seems to be like my legs and tabletop were being mitered together.
At first I planned to meticulously trim the surplus at the finish of the entrance edge, but considering the fact that it folded so nicely without having any effervescent, I folded the inch or so surplus and trapped it to the within of the table.
And that acquired included up upcoming with a different operate of wallpaper. I purchased enough wallpaper (2 rolls) to address the inside of the legs and the underside of the tabletop. And considering the fact that I was considerably less involved on the underside about viewing seams, I coated them independently and ended up not covering the underside of the tabletop by itself. You genuinely just cannot see it during every day use and it saved me $27 by not opening the next roll.🤷♀️
Oh and for the legs, the inside of wallpaper was flush with the entrance edge so the surplus was just folded more than and caught onto the again of the legs. Sure, it looks unfinished from the backside. BUT WHO CARES?!

The only put I necessary to trim wallpaper was at the base of the legs. I propped up one leg at a time with a scrap piece of 1×2 so I could trim it as specifically as possible. I did not want any sliver of wood displaying and supplying away my table’s secrets!
About an hour or so following finishing the table, there was however a very little wobble to it if you shifted it from aspect to facet. But after leaving it on your own overnight, the wiggle was absent and this desk was durable, stable and completely ready to shift to its new residence!
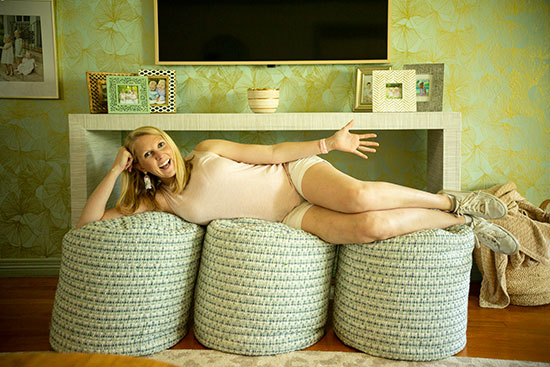
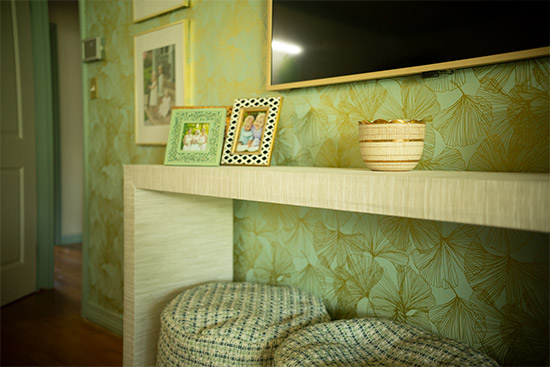
I ordered our poufs from Dwelling Depot* to serve as decoration AND more seating. They are like sophisticated beanbag chairs and the young ones have already pulled them out to sit and roll about quite a few occasions!
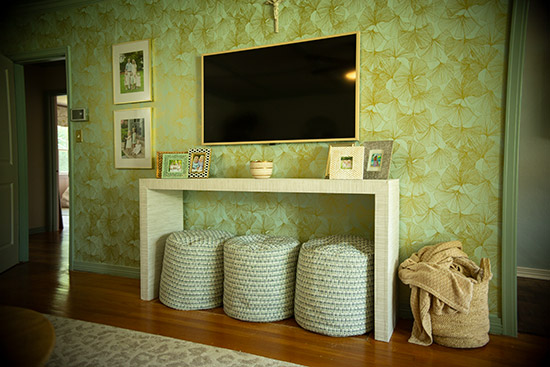
The wallpaper behind the Television and console was lately hung to generate an accent wall. I like it by itself but I’m still trying to figure out if I like the home as a complete with the wallpaper in it.🤔
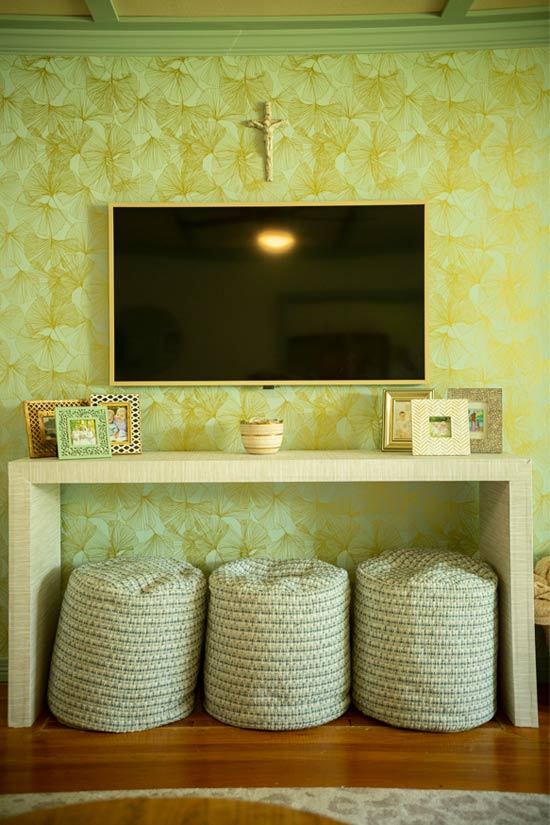
But we do really like the sleekness of our Frame Tv set*! It was a splurge we handled ourselves to when our preceding home marketed for way around the inquiring price. Now I’m thinking I could possibly brush some gold paint on the body to match other gold frames in the room. The initiatives and concepts hardly ever prevent all around below! Ha!
*This submit contains affiliate hyperlinks.*
More Stories
Bathroom Renovation in Milton: Transforming Spaces for Modern Living
Explore the Benefits of Office Cleaning Services in Singapore
Expert Tips and Tricks for Effective Removal