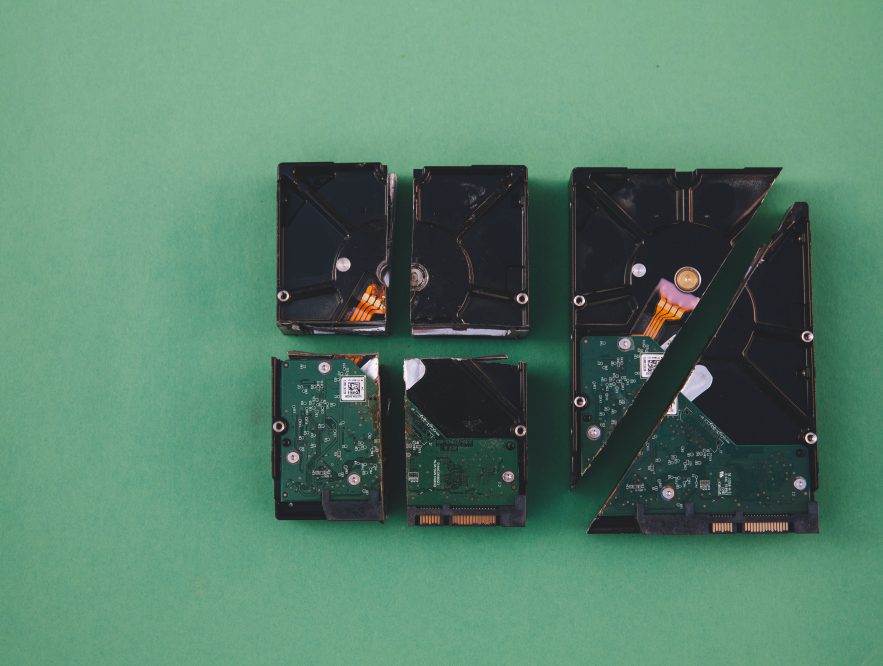
Computers and laptops use hard disk drives (HDDs) and solid-state drives (SSDs) for storage purposes. Over the years, SSDs have become quite popular, with most modern computers and PCs replacing HDDs with faster and more power-efficient SSDs.
And while solid-state drives are the ideal storage solution in the market, they also suffer from performance issues. SSDs become increasingly slow with continued use or due to configuration issues, system errors, and more.
If your computer running on Windows 10/11 is becoming slow to boot or access stored files, it’s probably time to fix the slow SSD. We have covered some helpful tips below, but first, let’s understand how an SSD works.
Understanding Solid State Drives
SSDs are non-volatile storage media that stores data on flash memory. They use electrical circuitry and don’t have physical moving parts, hence the shorter wait times when booting and fewer delays accessing apps & files and doing heavy computational tasks.
The SSD can also access multiple flash chips simultaneously and order them to fetch data. On the other hand, HDDs have single-head constructions and can only read from one head at any given time, making them comparatively slower.
There are different types of SSDs, with the most common being the MLC (multi-level cell) and TLC (triple-level cell) SSDs being the most common. The major differences are cost, storage capability, durability, and performance. To choose the right SSD for your unique use cases, you want to keenly explore the MLC vs. TLCdifferences.
Speeding Up Slow SSD on Windows 10/11
If your windows PC experiences frequent performance issues, especially while booting or running heavy-duty apps, the SSD could be a cause for concern. Here’s how you can speed up your PC’s solid-state drive.
Check Your PC’s TRIM command.
This command enables the Windows OS to notify the SSD of any pages which no longer contain valid data. To check the TRIM command:
- Go to the start search bar and type the word “cmd.”
- Proceed to right-click the Command Prompt, then Run as Admin.
- Type this string (without the quotes) “fsutil behavior query DisableDeleteNotify” and press enter.
- If it returns 0, the TRIM command is up and working. However, if it returns a 1, proceed with the below steps.
- On the command window, type the string/word “fsutil behavior set DisableDeleteNotify 0,” and click enter.
Optimize Drivers
Windows 10 and 11 has a feature that allows the system to run the TRIM command. To check if Windows is optimizing your SSD:
- Go to the Windows search bar and type Defragment and Optimize Drives and hit enter.
- Highlight your SSD on disk C and click optimize.
Try Disk Cleanup
With time, SSDs accumulate lots of junk files that can affect performance. To do a disk clean-up:
- Type Disk Cleanup in the windows search/start bar and hit enter.
- Choose SSD Drive then click OK to begin the process.
- Delete any junk files detected.
- Finish up by optimizing the drivers with the steps highlighted above.
Check if the AHCI Mode is enabled.
The AHCI mode ensures that the SSD is performing optimally and as intended. If this feature isn’t enabled, the PC may encounter frequent performance issues, including blue screen of death errors. To check if the AHCI mode is enabled:
- Open Device Manager then expand the IDE ATA / ATAPI Controllers.
- If you notice AHCI Controller, this feature is enabled; otherwise, you’ll only see ATA and IDE.
Enabling AHCI on Windows 10 requires that you navigate to particular keys and set the value “Start” to “0.” These keys include:
- HKEY_LOCAL_MACHINE\SYSTEM\CurrentControlSet\Services\iaStorV.
- HKEY_LOCAL_MACHINE\SYSTEM\CurrentControlSet\Services\storahci\StartOverride
- HKEY_LOCAL_MACHINE\SYSTEM\CurrentControlSet\Services\storahci.
- HKEY_LOCAL_MACHINE\SYSTEM\CurrentControlSet\Services\iaStorAVC\StartOverride.
You’ll then restart your PC and go to UEFI/BIOS firmware settings to enable AHCI mode. Save and exit, then restart the computer once more.
Configure Boot Order
If you have tried all the tips above and your SSD drive is still slow, perhaps the boot sequence in your PC is incorrectly configured. You want to check if the SSD drive is given top priority while booting the system. To do this:
- Restart your PC and boot into BIOS.
- Modify the boot sequence to give SSD priority over HDD or external OS.
Disable Onboard VGA
Disabling the onboard VGA feature could help boost the performance of your SSD. Follow these steps to fix this issue:
- Restart your PC and open BIOS.
- Go to the Advanced BIOS tab, then search for Onboard VGA.
- Select the Disable option.
Switch to a Higher Speed SATA port
Most motherboards feature two distinct SATA controllers, e.g., SATA 6Gbps and SATA 3Gbps. You always want to connect the SSD to the higher Gbps-rating controller for better performance. If the motherboard is built on an Intel chipset, it definitely comes with an Intel SATA controller, which should be connected to your SSD.
Additionally, check the SATA cable to ensure it’s not defective. Where possible, buy a SATA cable from a reputable manufacturer. Most tech-savvy users claim that using the first SATA port yields higher speeds, so you may also want to try that.
Get Help Where Necessary
Besides the tips we have identified above, you can also try to update the SSD firmware to see if that boosts performance. Another option is to adjust your PC’s battery settings from balanced performance to high performance. This will ensure the SSD receives the full power needed to run optimally. If all these options don’t work, perhaps you should seek technical assistance from an IT professional.
Loading recommendations…


More Stories
Bathroom Renovation in Milton: Transforming Spaces for Modern Living
Explore the Benefits of Office Cleaning Services in Singapore
Expert Tips and Tricks for Effective Removal